

OAuth2 is the recommended authentication method. However, JWT SSO is your best option if:
JWT SSO requires only a few lines of code to implement.
JWT SSO uses a JSON Web Token (JWT) signed with your private key to authenticate users. You sign the token with the user's information and pass it as a token parameter in the query string to Bettermode.
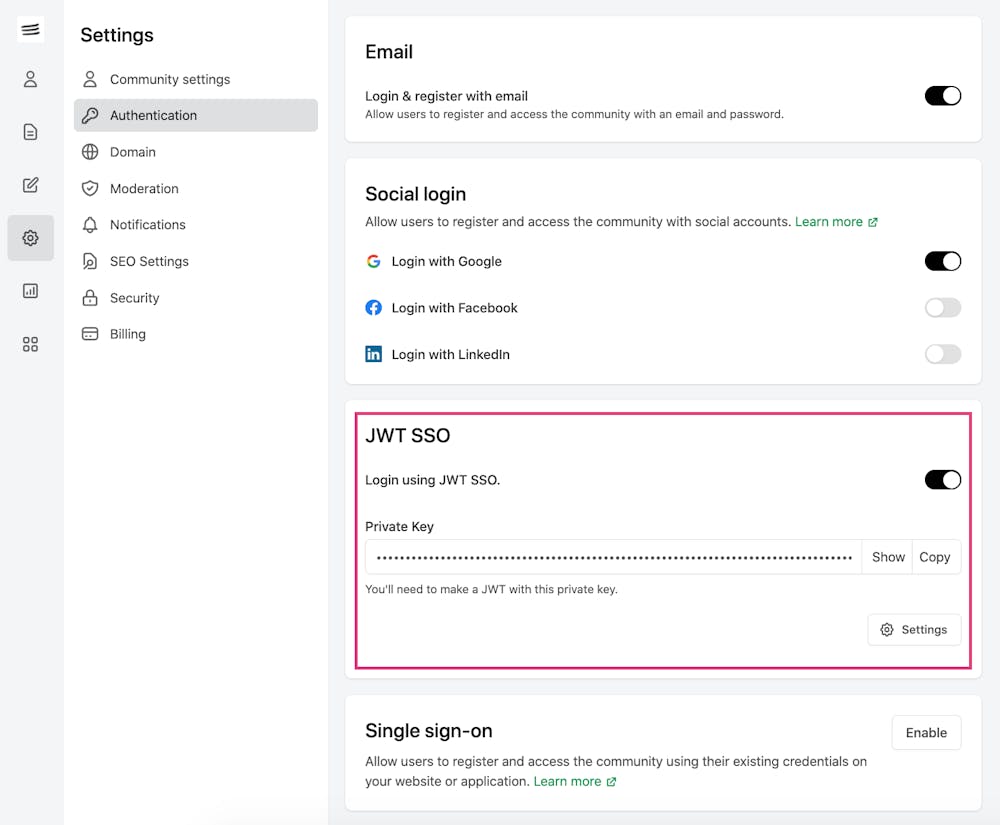

Follow the steps in the Bettermode Developers Guide for JWT SSO to finish setting up JWT authentication.
